How You Can Make a home-made Dog Chain Collar
You have probably stumbled on this article because you have seen dogs wearing chain collars in movies or TV shows. Does that not look cool? Or you stumbled upon this text while scrolling through the internet.
A chain dog collar also trains your dog by using additional positive reinforcements to make your dog obedient and follow commands. Nevertheless, here is where you find a solution to your problem, you need to look any further.
Here you will be guided on the complete steps on how you could make a chain collar for your dog, which honestly looks excellent on any canine. Every chain collar for every size of dog is different. Let’sLet’s make one which is comfortable, affordable, and safe for your best friend.
Material That You Will Need to make home-made dog chain collar
The following materials will be needed for you to make a chain collar for your dog at home.
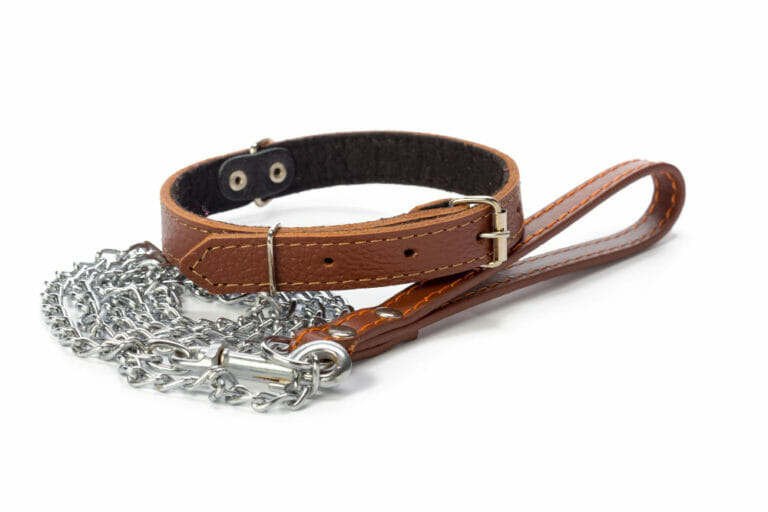
- Chain: You need a durable chain first, depending on your dog’s size and strength. You can buy one from a nearby hardware store. This is the essential part for you to make your dog a chain collar. They should be of a strong material like stainless steel, brass, or Chrome-plated steel.
- Circular Rings: Circular rings or O – rings are used to join the ends of a chain together to make a chain collar or a circular shape. You can also buy this from a nearby hardware store. You would require one large and one smaller O-ring.
- Pliers: Hearing this tool’stool’s name would intimidate you if you are not well-versed in performing handiwork but do not worry. You probably would have this lying around the house in your toolbox. You could buy this from a hardware store or save money by borrowing from a friend. It would be best if you had this to open and close the O-rings and cut the chain to your desired length.
- Measure Tap: This measurement tool will measure the size of your dog’s neck so that the chain you make for it is not too tight or loose. This is essential if your dog’s neck is not measured correctly. Then it might be uncomfortable for it to wear the chain collar.
Steps You Need To Follow To Make Your Dog Chain Collar
Here comes the fun part, the part you’ve you’ve all been waiting for, where all the secrets are revealed to make your furry friend look the coolest he has ever looked. The Dog chain collar makes the uncool dog the most incredible dog. The following is how you can make the dog chain collar:
Step 1: Measure the size of your dog’s neck For Perfect dog chain collar
You would need to measure your dog’s neck to make the chain for your dog. Use a measuring tape to measure the circumference of your dog’s neck. Place the measuring tape’s starting end on one side of your dog’s neck, make a circle on it, and meet the other end of the tape. Please ensure there is space for two fingers to fit between your dog’s neck and the measuring tape while measuring it, so it is comfortable when your dog wears it after the chain has been made.
Step 2: Choose the chain per your dog’s liking, size, and strength.
Choosing the correct chain for your dog is essential for its safety. Make sure the chain is thick and stronger if your canine is big and robust, and a smaller chain if your canine has a more petite frame. Please ensure the rounds of the chain are smooth, so it does not irritate your dog’s skin while wearing it.
Collars can be very irritating and uncomfortable to dogs when wearing them, so it is essential for the collar, especially a chain collar, to be smooth so it does not be the reason your dog gets rashes on its skin. A chain can be purchased from a hardware store near you, do make sure that the chain is durable, so it lasts longer and does not rust or break soon. A chain of stainless steel, brass, or chrome-plated steel would be preferable.
Step 3: Cutting the chain to the size of your dog’s neck you previously measured.
This step is dangerous and requires precautions to be taken. Make sure you wear protective goggles and gloves while using the pliers to cut the chain to your desired length. During this step, ask for help if this is the first time you have used pliers to cut steel. Be extremely cautious, and DO NOT HURT yourself.
Step 4: Attach the O-rings / Circular rings.
This is the most fun part of making the dog collar chain. Once you have cut the chain as per your desired length, take the smaller circular ring and thread it through the last link of the chain, you are then required to take the giant circular ring and thread it through the smaller circular ring.
You will get detailed information about attaching tags to your dog collar here.
Step 5: Securing the circular rings.
Here is where we tighten the circular rings and secure the circles together, ensuring there is no space or gap between the rounds. This will ensure that the chain does not fall off your dog’s neck when running errands.
Step 6: Testing the Collar.
Here you need to test the chain collar and ensure that it does fall off when your furry friend makes the house his playground. To ensure that the chain is safe and effective before letting your dog wear it, wear it around your arm and tighten it, stimulating a tugging motion of a dog’s pulling. If the chain collar does not tighten, then IT IS NOT SAFE to be used on your dog. Here then, you may need to start all over again. You would need to buy a new chain and circular rings.
Step 7: Test it out on your dog.
Now that you have correctly made the chain collar for your dog and tested it out, you can let your dog wear the chain collar and be the coolest dog on the planet. The main hurdle you would face is holding your dog in one place to make him wear his chain, just as my dog would be running around the house, and controlling that fluff ball would be something I cannot give tips on.
I can give you tips on how to use a dog chain collar.
Tips on How to Use a Dog Chain Collar
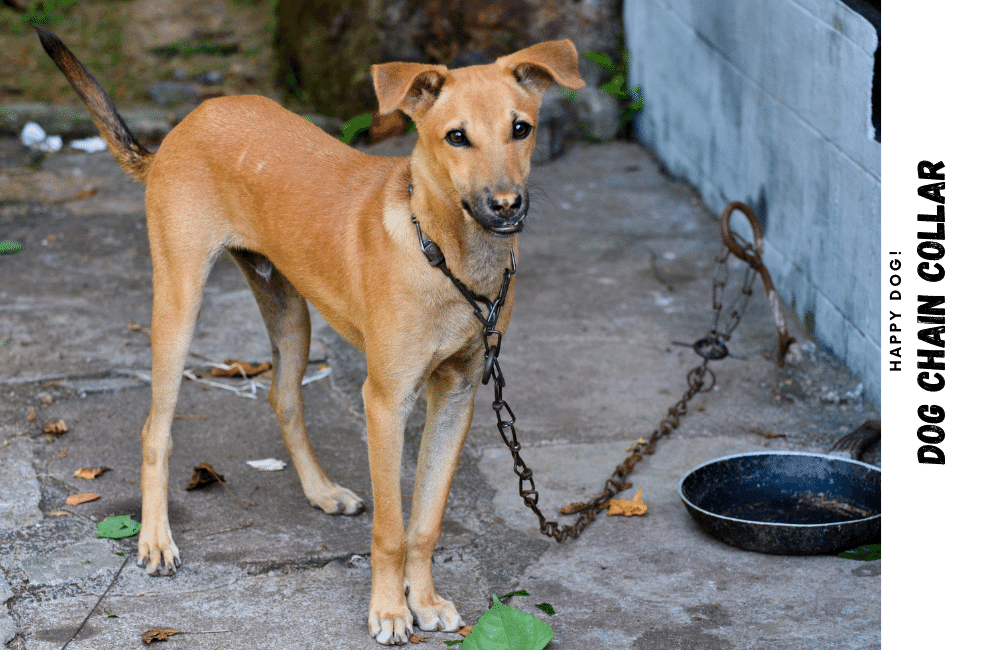
Correct use of the collar: The collar should fit perfectly on your dog’s neck firstly, make sure your dog is not irritated by it or shows signs of irritation or discomfort. Do not leave your dog unsupervised when with the chain collar.
Please only use for regular use: Ensure the chain collar is not used regularly. Frequently have it replaced with a strap collar or other normal fabric collars.
Monitor your dog’s breathing: Make sure that it does not choke him when you place the chain collar on your dog’s neck. If it does start to choke or wheeze, loosen the collar immediately. The dog’s collar should never be tight enough to restrict its breathing.
The use of Positive reinforcement: Use the chain collar to positively reinforce commands that you give to your dog, and reward your dog with treats and biscuits to encourage good behavior, as this will help your dog learn and obey commands.
Conclusion
Making a dog chain on your own may be an inexpensive way to train your dog and help him look like the cool dogs in the movies, but it is best to remember that you may need to make it correctly on the first try. Always keep your dog’s comfort and safety on top, not regularly using the chain. With time and patience with a homemade dog chain collar, you can train your best friend to be obedient while being a happy and merry dog.