Secure Your Furry Friend – How To Attach A Dog Tag To A Collar
As the saying goes, “dogs are man’s best friend.” And as a responsible dog owner, one of the most important things you can do to ensure your furry friend’s safety is to attach a dog tag to their collar. A dog tag contains crucial information such as your dog’s name, your contact information, and any medical conditions they may have. In the event that your dog gets lost, a dog tag can help reunite you with your beloved pet. In this article, we will guide you step-by-step on how to attach a dog tag to a collar.

Step 1: Choose the right dog tag
Before learning how to attach a dog tag to a collar, you must select an appropriate collar and dog tag. You don’t want to put a flimsy tag on a collar that’s going to fall apart, do you? Choosing a robust collar that is the right size for your furry friend’s neck is crucial in ensuring the tag stays in place. Not too tight, not too loose; just right.

The next step in knowing how to attach a dog tag to a collar is picking a tag that will last, is legible, and has plenty of room for all the information you need to include on it. Stainless steel, aluminum, and brass are all commonly used for dog tags. Dog identification badges can be purchased ready-made or personalized with your pet’s name and contact details. Round, bone-shaped, and rectangular are just some of the shapes available to you.
Before attaching the tag you must know How To Place A Prong Collar On A Dog.
Step 2: Get the right collar
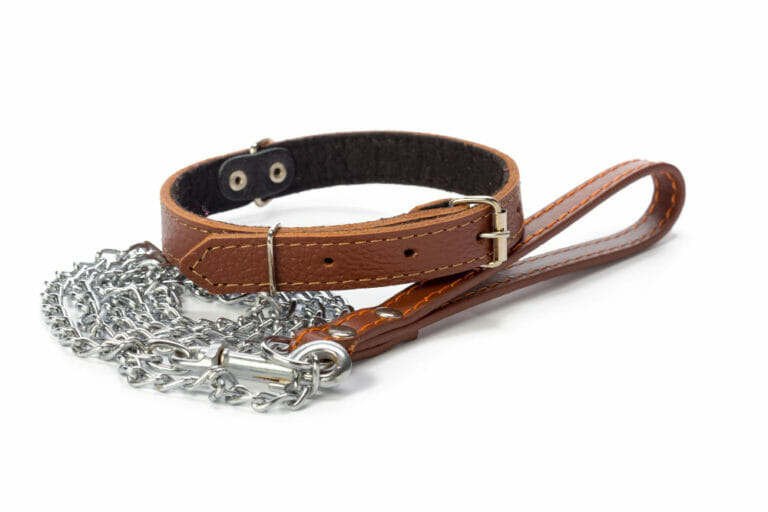
The correct collar must be in place before the tag can be attached to the dog. The right collar for your dog is one that fits snugly and doesn’t cause any discomfort. Nylon, leather, and chain are just a few of the materials used to make collars. Check that two fingers fit comfortably between the collar and your dog’s neck since this is the ideal fit.
Step 3: Attach the dog tag to the collar
To learn how to attach a dog tag to a collar, the next step is to put the tag on the collar now that you have the tag and the collar. Depending on the sort of tag and collar you have, there are different approaches you can take. Three typical approaches for how to attach a dog tag to a collar are as follows:
Method one: Split ring
A dog tag can be linked to a collar with the use of a split ring, a small metal ring that can be threaded through the hole in the dog tag. Small and spherical, it unfolds into a key ring shape. You may get a split ring for your personalised dog tag at any hardware shop or online. Follow these instructions to attach the tag with a split ring:
Steps
- Insert the split ring into the tag’s hole.
- Put the split ring through the collar’s D-ring.
- Then, using either pliers or your fingers, secure the split ring.
Method two: The S-hook
The dog tag can be attached to the collar with the help of a metal hook known as an S-hook. Using an S-hook, affix the tag as shown.
Steps
- Insert the S-hook into the tag’s hole.
- S-hook the collar’s D-ring with the S-hook.
Method three: Riveting
The tag can be securely affixed to the collar with a rivet. In order to rivet the tag, please follow these instructions:
- Locate the spot on the collar where the tag will be fastened and punch a hole there.
- Two holes in the tag and one in the collar are all you need to get the rivet in place.
- Third, set the rivet with pliers or a rivet gun.
Step 4: Double-check the tag
You’re almost there! Check the dog tag’s details again before replacing the collar on your pet’s neck. Once you have fastened the tag to the collar, it’s crucial to double-check that all the information on the tag is accurate and up-to-date.
Verify that the name of your dog is spelled correctly, that your contact information is right, and that any preexisting conditions are noted. It’s also a good idea to update the tag if you relocate or alter your phone number. The collar should snugly fit around their neck, and the dog tag should be clearly legible.
Step 5: Test the collar and tag
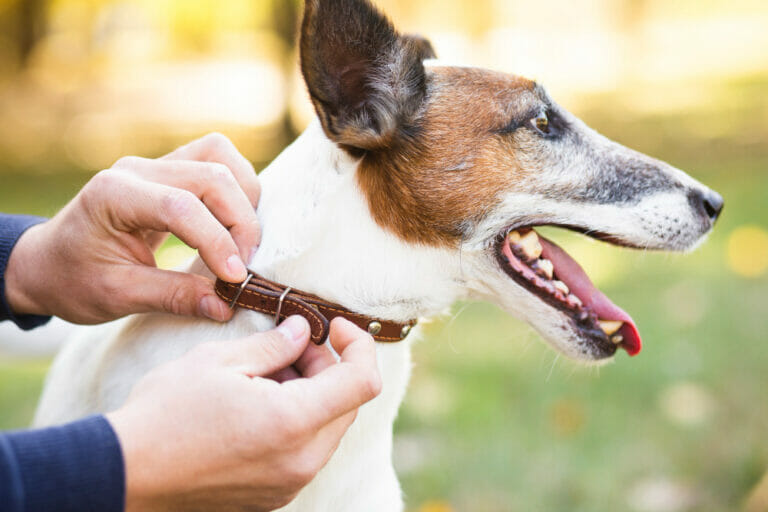
Be sure the collar and tag won’t slip off your dog’s neck before he wears them. Check that the tag is not going to fall off by giving the collar a light tug. Shaking the tag to hear if it makes any noise is another option for verification. If that’s the case, the tag may use some tightening.
Step 6: Monitor the collar and tag
Keep an eye on your dog’s collar and ID tag to make sure they’re still attached tightly and in good shape. If the collar or identification tag shows signs of wear, get a new one. Also, double-check the tag to make sure that the data is still current and relevant.
Tips for attaching a dog tag to a collar
- Use a sturdy and legible dog tag.
- It’s important to get a collar that fits your dog well and is comfortable for him.
- Make sure the ID tag is permanently fastened to the collar.
- Verify the tag’s details and change them as required.
- Please check the condition of the collar and tag on a regular basis.
To make your dog easier to spot in low-light situations, think about getting a tag that reflects light or glows in the dark.
· A tag silencer can prevent the tag from being damaged and muffle any unwanted sounds if your dog is a chewer.
Finally, knowing how to attach a dog tag to a collar is a simple task that might have enormous consequences in the event of his or her loss. Make sure the information on the dog tag is correct before re-fastening the collar to the pet. Your beloved pet can enjoy freedom and security with minimal effort on your part. The time to act has arrived, so stop stalling! Clip a tag onto your pet’s collar, and then release him or her into the great outdoors.